
How do I add attachments and screenshots?
Adding attachments
Attachments can be quickly added by clicking the paperclip icon or by dragging and dropping a file onto a note or comment area. As attachments are added they are listed just above the paperclip icon. You can add multiple attachments to any note or comment. To remove an attachment just click the ‘x’.
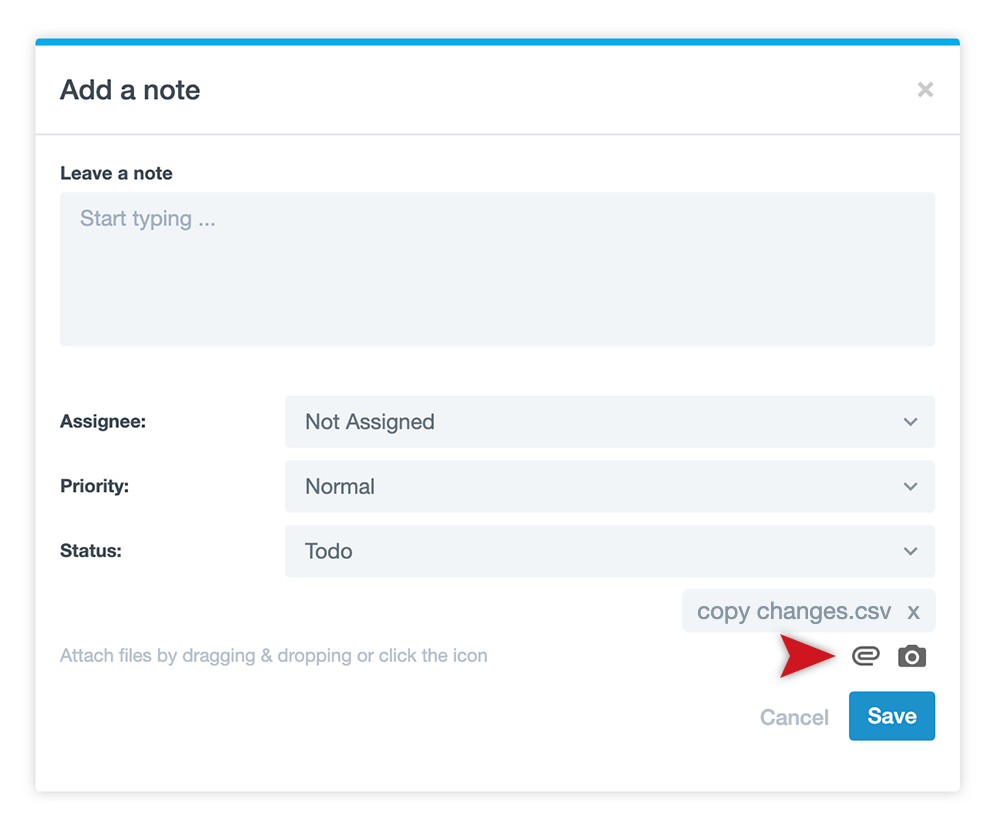
Adding screenshots
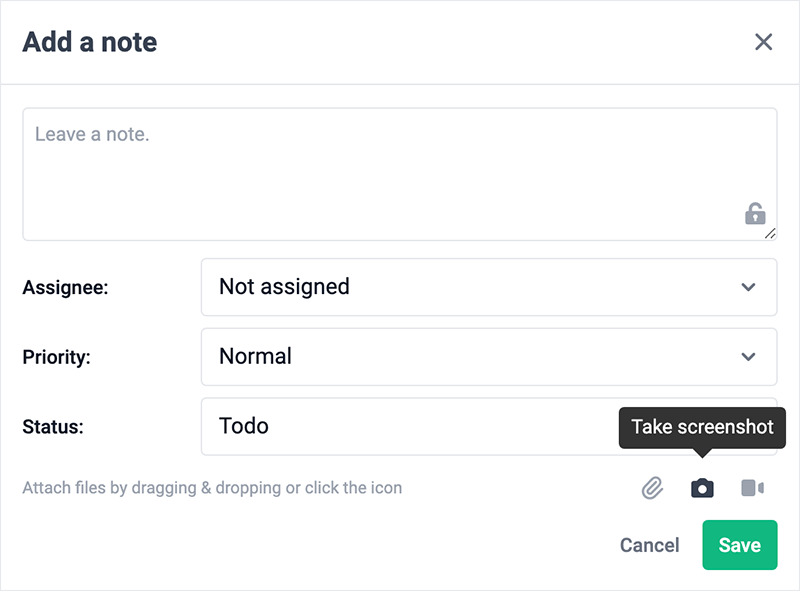
Screenshots can be added to notes and comments just like attachments. PageProofer uses your browser’s screen sharing to capture a pixel perfect screenshot of exactly what you see.
- Click the camera icon on the note or comment.
- Your browser asks you to share your screen. In Chrome and Edge, choose this tab (it’s usually selected for you). In other browsers, choose the browser window with your website in it.
- Click Share. PageProofer hides the note for a moment, captures the screen, and stops sharing straight away. Nothing is recorded beyond the single screenshot.
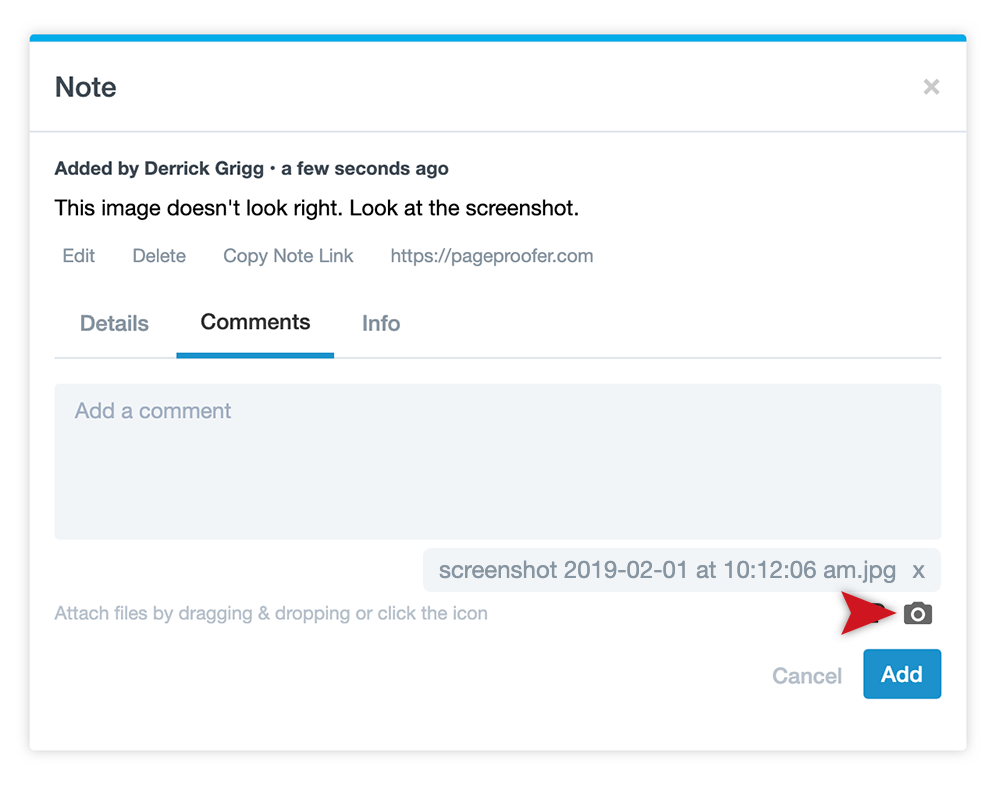
- The screenshot is added to the note or comment. Click its link to view it.
If you click Cancel in the share prompt, no screenshot is added and you’re taken back to your note. Most phones and tablets don’t support screen sharing in the browser, so on those devices take a screenshot yourself and add it as an attachment (see below).
Manually adding screenshots
Sometimes the automatic screenshot feature does not capture exactly what you want to show. You can take a screenshot on your computer or mobile device and add them as attachments. Here’s a quick guide on capturing screenshots.
1. PC Windows
- Press and hold the Windows key and click the ‘Print Screen’ or ‘PrtScn’ button on your keyboard
- Screenshots are normally saved to the [user]\Pictures\Screenshots folder
2. Apple Mac OS
- Click and hold Command + Shift + 4
- Drag a box around the area you want a screenshot OR hit the space bar and hover over the window you want a complete screenshot of (the window will turn light blue)
- Screenshots are normally saved to your desktop
3. Apple iOS
- iPhone with TouchID - press the side button and the home button at the same time
- iPhone with FaceID - press the side button and the volume up button at the same time
- Screenshots are saved in your photo album
4. Android Device
- Press the power button and volume down at the same time
- Screenshots are saved in your photo album